Flat Is a Direction, Not a Destination: A Practical Room-Calibration Workflow for Home Studios
Every home studio has a liar in the room, and it is usually the room. You can buy the same monitors as your favorite engineer, place them on a desk, and still make decisions that fall apart in the car. The temptation is to fix that with software: load a correction plugin, draw a flat line, and call it calibrated. That is not calibration. That is decoration. A better workflow starts with measurement, ends with translation, and treats flat response as a direction rather than a destination.
The Goal Is Translation, Not a Perfect Graph
A flat frequency response at one microphone position is not the same as a good room. It is a data point. What you want is confidence that a mix made in your room will survive on earbuds, a car stereo, a TV soundbar, and a phone speaker. That means reducing the big lies, not erasing every small wiggle. A broad 80 Hz peak will fool you into cutting bass that is not actually too loud. A deep null at 120 Hz will make you boost a frequency that cannot be fixed with EQ. The graph is a map of problems, not a scorecard.
What You Actually Need
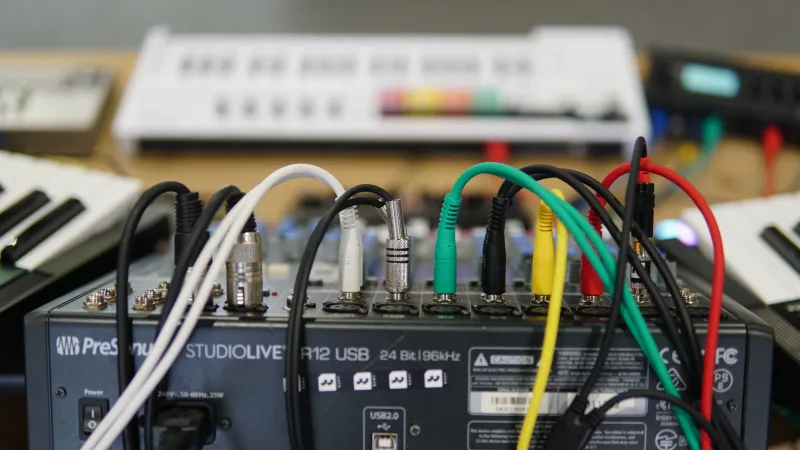
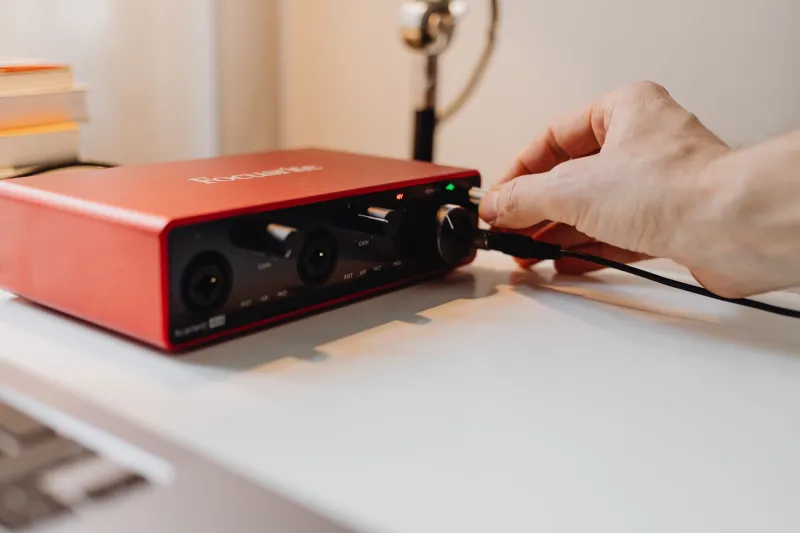
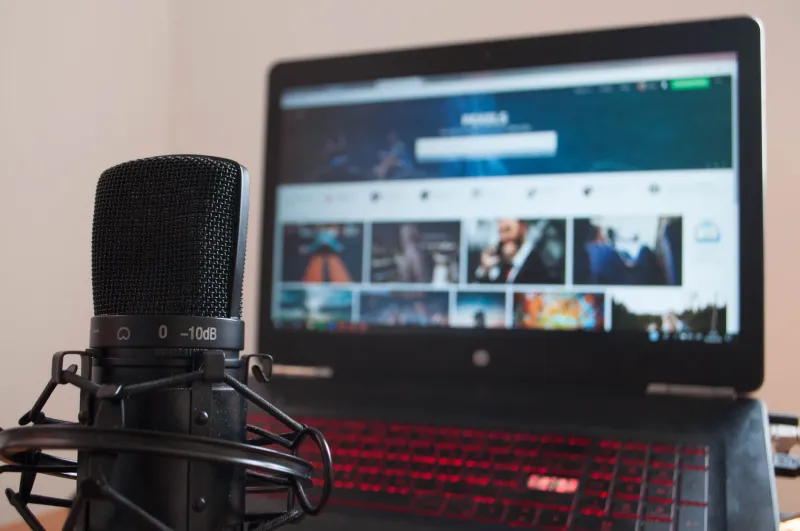
The barrier to entry is lower than it used to be. You need a free measurement program, a measurement microphone with a calibration file, a mic stand, an interface with phantom power, and a laptop. Room EQ Wizard, usually called REW, is the default free option and it runs on Windows, macOS, and Linux. For a microphone, a Dayton EMM-6, Behringer ECM8000, or miniDSP UMIK-1 will get you useful data without a second mortgage. The calibration file matters more than the brand. A cheap mic with a serial-specific calibration file is more trustworthy than an expensive mic with a generic one.
Measure the Room, Not Your Ego
Set the speakers up symmetrically. Tweeters at ear height, equilateral triangle to the listening position, and as much distance from the front wall as your desk allows. Point the mic at the ceiling for a 90-degree calibration file, or follow the file instructions. Measure the left speaker, the right speaker, and both together. Do not chase twenty microphone positions on day one. Start with the listening position and one or two alternates. Look at the frequency response and the waterfall. A peak is usually easier to fix than a null. A null often means cancellation, and no EQ boost will fill it without creating more problems somewhere else.
Read the Graph Like a Producer
Use smoothing, but not too much. One-twenty-fourth-octave smoothing is a reasonable place to start for low-frequency problems. Look for broad shapes: a hump from 60 to 120 Hz, a dip around 200 Hz, a bright spot at 3 kHz. Narrow spikes are often measurement artifacts or comb filtering from a desk reflection. Do not correct those with a narrow EQ cut unless you can verify them with a second measurement. Check the decay times in the waterfall. A room that rings at 90 Hz will make every kick drum sound slow, and no amount of EQ will fix the time domain.
Correction Limits That Keep You Sane
If you use an EQ correction plugin, set limits before you start. Cut peaks by no more than 4 to 6 dB. Avoid boosting nulls. Keep most correction below 300 Hz, where room problems live, and leave the high frequencies alone unless you have a specific, repeatable problem. Use broad filters, not surgical notches. If the correction curve looks like a saw blade, you have gone too far. The goal is to make the room more honest, not to make the graph prettier. Re-measure after applying correction and compare. If the correction makes the waterfall worse, back it off.
Headphones Are Your Second Room
A measurement mic does not tell you how a mix will feel. Headphones do, if you know them. Keep a reference playlist of commercial tracks you trust. Compare low-end weight, vocal presence, and stereo width between your monitors and your headphones. If the room correction says the bass is perfect but your headphones say it is thin, investigate. If the headphones say the vocal is harsh but the room says it is smooth, trust the disagreement. The point is not to pick a winner. The point is to gather enough evidence to make a decision you can defend in the car.
Treat First, Correct Second
Before you buy another plugin, move the speakers. Put bass traps in the corners. Get the desk reflection out of the tweeter path. Thick absorption behind the listening position can do more than a dozen EQ bands. Correction software is a bandage for the problems you cannot move. It is not a substitute for placement. In 2026, the free tools are good enough that the weak link is usually the room setup, not the software.
A Repeatable 45-Minute Workflow
Set up the mic and measure both speakers. Identify the three biggest problems, not thirty. Move a speaker or add a trap if you can. Re-measure. Apply limited EQ correction only where it is consistent. Check the result on headphones and a known reference track. Save the measurement so you can compare after your next change. That is it. You are not trying to build a mastering room. You are trying to know your room well enough that it stops surprising you. Flat is a direction. Translation is the destination.